
How to Set Up an SSD for Tesla Dashcam and Sentry Mode
Key Takeaways
A reliable setup starts with checking your vehicle, drive, and current on-screen guidance—not just plugging in an SSD. Work through the setup once, then confirm that a test clip actually saves.
Check which USB port supports data in your specific vehicle.
Choose an SSD and cable that suit your capacity, fit, and power needs.
Format the drive as directed and create a TeslaCam folder at its root if needed.
Enable recording, then check that clips appear on the drive.
Copy important footage elsewhere before it can be overwritten.
Check your Tesla’s storage requirements
Before buying an SSD, confirm that your Tesla can use an external drive for Dashcam recording and identify a data-capable USB port. Port locations and available features can vary by model, year, and software, so the vehicle’s manual and touchscreen are the best references for your car. A Tesla dashcam SSD setup is easier when you verify those details first, rather than troubleshooting a drive that was never connected to a suitable port.
Confirm your model has a compatible USB data port
Not every USB port in a vehicle necessarily transfers data; some may be intended for charging. Check the owner’s manual and inspect the port labels or the vehicle’s current guidance to find one that supports recording. If the drive is not recognized later, try another confirmed data port before changing its format or replacing the SSD.
Check Tesla’s current storage recommendations
Storage requirements and menus can change with vehicle software, so check the current instructions shown in your car before preparing the drive. Confirm the recommended format, any available in-car formatting option, and whether your model supports the intended recording features. A step-by-step Tesla USB formatting guide can also help you plan the folder and test sequence; use your car’s own instructions to resolve any differences.
Understand how Dashcam and Sentry Mode use the drive
Dashcam and Sentry Mode can save video to external storage when recording is available and the drive is set up correctly. The amount of footage a drive holds depends on its usable capacity and how the vehicle records; don’t assume every saved event is retained indefinitely. If you’re weighing SSD sizes for a particular vehicle, this Model Y Juniper storage comparison offers another set of factors to consider, including fit, capacity, and transferring footage.
Decide whether an SSD fits your recording needs
An SSD may suit an owner who wants a compact external drive for repeated recording and is willing to manage the files. Think about how often you want to review or copy clips, how much space you need, and whether the drive can be kept securely connected. The goal is enough usable space, not the largest number on the box; choose based on your real recording and backup habits.
Choose an SSD and the right accessories
An SSD is only one part of a working setup: the connector, cable, available port, and place where the drive rests in the cabin matter too. Accessories for Tesla organizes aftermarket products by vehicle model and category, which can be a useful starting point when comparing vehicle-specific fit. Check the current product listing and your car’s requirements before purchasing, since a drive that fits one model or year may not suit another.
Compare capacity, speed, durability, and price
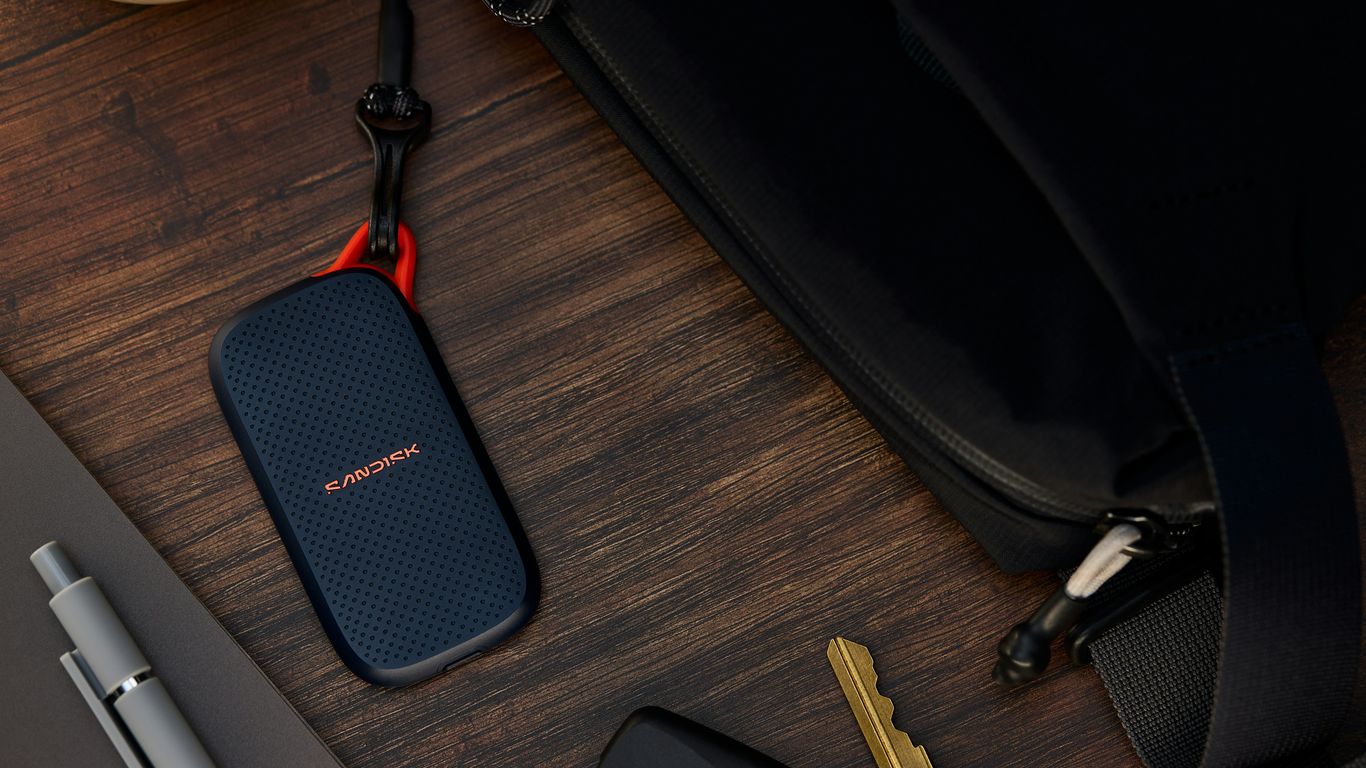
Capacity affects how much footage can remain on the drive before you need to manage it, while speed and durability can influence day-to-day usability. Compare the complete drive and cable setup rather than relying on a single headline specification. Accessories for Tesla lists a Samsung T7 Portable SSD among its accessory recommendations; that listing alone is not a guarantee of compatibility with every vehicle or software version.
A simple comparison can keep the decision grounded in your own use rather than marketing language:
Factor | What to check | Why it matters |
|---|---|---|
Capacity | Usable space after formatting | Helps estimate how often you may need to copy or remove clips |
Connection | Connector type and cable included | Must match a data-capable port in your vehicle |
Physical fit | Drive size and cable reach | Helps keep the drive secure and out of the way |
Price | Drive plus any required cable or adapter | Shows the cost of the full setup |
Once you have compared those details, choose a drive whose size and connection suit your car. If you are considering buying a home as well, mortgage options involve a rather different kind of budget decision; for this setup, keep the comparison focused on the complete storage kit.
Check the SSD’s connector and cable requirements
Look at the ports on both the SSD and your vehicle before ordering. If the drive uses a detachable cable, confirm that the supplied cable connects securely and reaches the chosen port without tension. A short, reliable connection is easier to manage in a cabin than an awkward cable that can be bumped loose.
Consider power needs and in-car placement
The drive must remain connected while it is being used for recording, so choose a location where it will not slide around or interfere with passengers. Avoid putting strain on the connector, and keep the cable clear of moving parts and controls. If the SSD disconnects when the car moves, check placement and cable fit before assuming the drive itself has failed.
Verify compatibility with your Tesla model and year
Check the vehicle’s year, interior configuration, available ports, and current software instructions before deciding on a drive. Product descriptions and fit information can change, so verify the exact model year on the seller’s listing. The same detail-first approach applies to other purchases too: wooden dummy training equipment, for example, is selected for a different use and should not be confused with car storage hardware.
Format the SSD and prepare its folders
Formatting erases existing files, so prepare a backup before you begin. Follow the instructions shown on the touchscreen or in the vehicle manual for the drive format; if formatting on a computer, confirm that the chosen file system is supported by your vehicle. For owners who want to review the full process, this guide to setting up a Tesla USB drive covers the basic format-and-folder workflow.
Back up files before formatting the drive
Copy anything you want to keep to another storage location, then check that the copied files open. Formatting is not a tidying step; it removes the drive’s existing contents. If the SSD is new and empty, you can move on, but still verify that you have selected the intended drive before starting a format.
Choose a file system your Tesla can read
Use the format specified by the current vehicle instructions. If you prepare the SSD on a computer, confirm that the computer has formatted the correct drive and that the resulting file system is one your car can read. Avoid guessing based only on what your computer accepts; a drive can appear normal on a laptop but still fail to work as expected in the vehicle.
Create the TeslaCam folder at the drive’s root
If your vehicle has not created the folder automatically, add a folder named at the top level of the SSD. Keep the name exact and do not bury it inside another folder. The root-folder location gives the vehicle a straightforward place to store recordings; after setup, check whether the car recognizes the drive and creates any additional folders it needs.
Safely eject the SSD from your computer
Before unplugging the drive, use your computer’s eject command and wait for confirmation. This helps avoid removing it while data is still being written. For a consistent setup, repeat a short check each time you prepare the drive:
Confirm that the selected disk is the SSD you intend to format.
Check that the file system matches the vehicle’s current instructions.
Verify that TeslaCam is at the root if you created it manually.
Eject the drive from the computer before connecting it to the car.
Once the drive is safely removed, connect it to the vehicle and allow the car a moment to recognize it. If the folder structure changes after connection, check the recordings on the drive before making further edits.
Connect the SSD and enable recording
With the drive prepared, connect it to a USB port confirmed to support data and check the touchscreen for a recognition or recording indicator. Menu names and locations can differ across software versions, so follow the wording shown in your car rather than relying on a memorized sequence. A short test is useful: it tells you whether the drive is connected and recording before you depend on it.
Plug the drive into a USB port that supports data
Insert the SSD firmly into a compatible data port, then give the vehicle time to recognize it. If the port is shared with a hub or adapter, remove unnecessary connections while testing so you can isolate the cause if the drive does not appear. Avoid forcing a connector or leaving the SSD hanging where a bump could pull it loose.
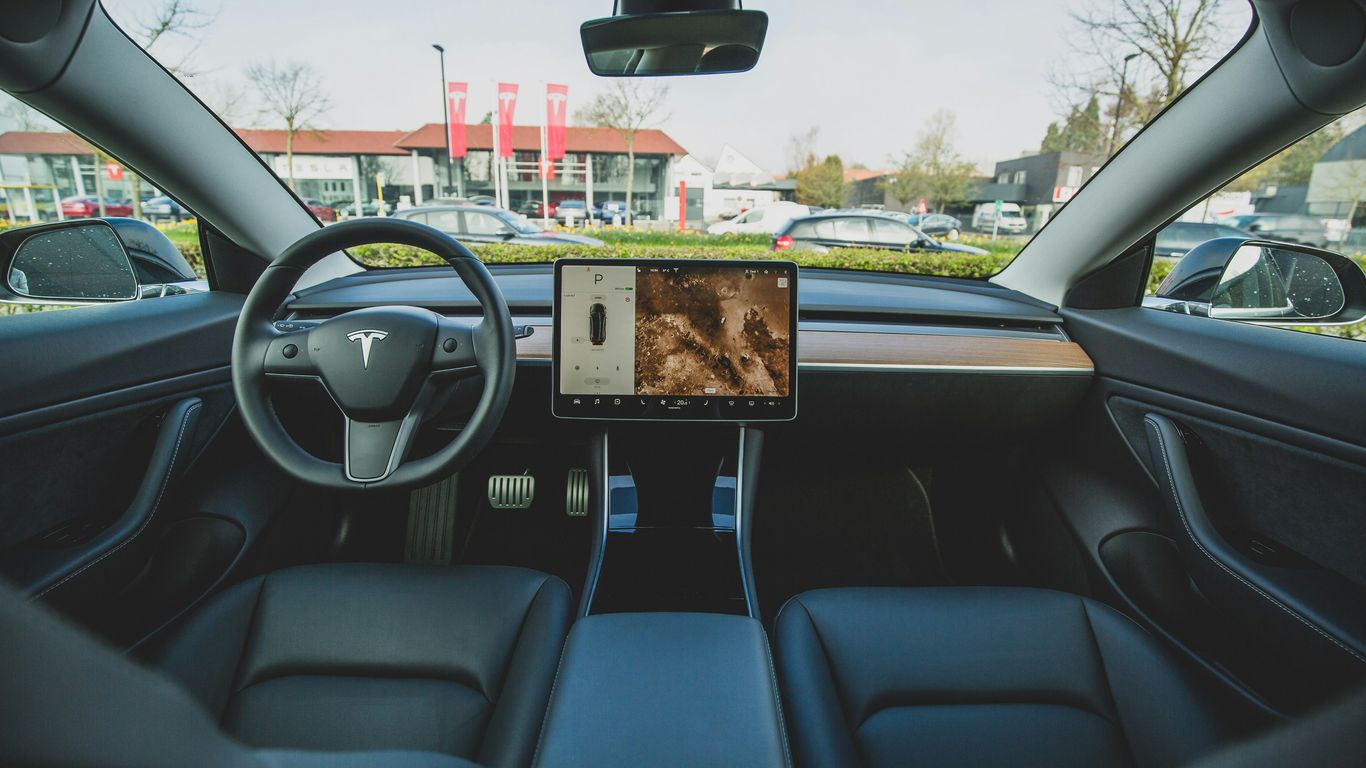
Open the Dashcam settings on the touchscreen
Use the touchscreen to find the Dashcam controls and the relevant recording options. Their position and labels may change with software, so look for the controls in your current interface rather than assuming an older menu path still applies. If the drive appears but recording is unavailable, review the on-screen message before changing settings at random.
Enable Dashcam and Sentry Mode recording
Turn on the recording features you intend to use, following the prompts displayed in the vehicle. Sentry Mode availability and behavior may depend on the vehicle’s settings and circumstances, so check the relevant controls rather than assuming the drive alone activates it. The setup is not complete until you verify that the recording indicator responds as expected.
Check the Dashcam icon for recording status
Look for the Dashcam icon or status shown in your vehicle interface and check that it indicates recording. If it does not, revisit the port, drive format, folder, and settings one at a time. A practical test-and-adjust routine is useful in many settings; the site’s guide to validating an app idea is a separate example of checking assumptions before relying on a result.
Verify, view, and manage recordings
A recognized drive is not proof that a usable clip has been saved, so make time for a quick playback check. Inspect the drive or use the vehicle’s viewer to confirm that recordings appear and can be opened. Accessories for Tesla also publishes owner-focused guides and checklists, but the essential check here is simple: test the recording, review the file, and copy anything important somewhere safe.
Confirm that clips are saving to the SSD
After recording has been enabled, look for the expected folder and recent clips on the drive or check them through the vehicle’s viewer. If no files appear, confirm that the drive is connected, the car recognizes it, and the correct recording settings are active. Do not wait for an important event to discover that the setup was not saving footage.
Open clips in the Tesla viewer or on a computer
Use the vehicle’s available viewer if you want to review clips without removing the drive. On a computer, open the recording files with a player that supports their format and check that both picture and playback work. If a clip will not open, first try another compatible player; keep the original file unchanged while troubleshooting.
Understand how saved clips and loop recording differ
Some recording systems retain selected clips while reusing space for ongoing recording. The exact behavior and controls can vary, so check the vehicle interface to understand which events are saved and which footage may be replaced. It is safer to treat the SSD as working storage, not as a permanent archive.
Export important footage before it is overwritten
Copy a clip you need to a separate device as soon as you can, and confirm the copy opens before deleting or moving the original. If a recording was deleted, recovery may depend on whether its space has been reused; this Tesla footage recovery guide explains why acting quickly matters. Backups are still the better plan, because recovery is not assured.
Troubleshoot common SSD setup problems
When an SSD does not work, change one thing at a time so the cause stays clear. Start with the connection and port, then check the format, folder, and touchscreen settings. A deliberate sequence is less frustrating than repeatedly reformatting a drive without knowing whether the car can read it.
Fix a drive that Tesla does not recognize
Unplug and reconnect the SSD, then try a different port that you have confirmed supports data. Check that the cable is seated at both ends and that the vehicle’s instructions allow the drive’s format. If the car still does not recognize it, test the SSD on a computer and check for file-system errors before deciding whether to reformat it.
Resolve missing TeslaCam folders or recordings
Check that the folder is named and sits at the root of the drive, not inside a second folder. Then confirm that the vehicle has recognized the SSD and that recording is enabled. If files are present but will not play, try a compatible player before altering them; this guide to repairing corrupted dashcam footage covers possible next steps.
Address interrupted recording and connection issues
Look for a loose connector, strained cable, or drive that shifts during a drive. Reposition the SSD so it stays secure, then make another short test and inspect the resulting clip. A steady check-and-adjust routine is more helpful than changing several variables at once; for unrelated examples of structured practice, see Austin Texas K9 and the Bochord beverage menu.
Reformat the SSD when errors persist
Reformat only after backing up any files you want to keep and confirming the vehicle’s current format instructions. Then recreate the required folder if it is not made automatically, safely eject the SSD, and test it in the car again. If errors continue, try another known-good cable or drive before assuming the vehicle itself is the problem.
Conclusion
A dependable Tesla dashcam SSD setup comes down to checking port and format compatibility, preparing the folder correctly, and verifying that a test clip saves and plays. Back up important footage promptly, and confirm any purchase against your exact vehicle and year. When you are ready to compare vehicle-specific aftermarket accessories, browse Tesla accessories and check each listing’s fit details before ordering.
Frequently Asked Questions
Does an SSD need a special format for dashcam recording?
Use the file system specified by your vehicle’s current instructions. If you format on a computer, check that the car supports that format before connecting the drive.
Where should the TeslaCam folder go?
If you need to create it manually, place a folder named at the root, or top level, of the drive rather than inside another folder.
Can I use any USB port in the car?
No. A port may provide charging without supporting data. Check the manual or touchscreen guidance for a port that supports recording.
How can I tell whether the SSD is recording?
Check the vehicle’s Dashcam status indicator, then make a brief test and confirm that a recent clip appears and plays.
Can I watch recordings on a computer?
Yes, if the computer and media player can read the drive and the recording format. Keep the original files unchanged until you have confirmed playback or made a backup.
Will the SSD keep every recording permanently?
Do not assume it will. Recording systems may reuse storage, and behavior can depend on the vehicle’s settings. Copy important clips to another location promptly.
What should I try if the SSD is not recognized?
Check the data port, cable connection, drive format, and folder name. Test the SSD on a computer, and reformat only after backing up files and checking the vehicle’s current instructions.

Comments