
How to Format a USB Drive for Tesla Dashcam
Key Takeaways
A dependable Dashcam setup starts with a suitable drive, a compatible format, and a quick recording check. Exact port locations and menu labels can vary by vehicle and software version, so confirm details for your model.
Choose a drive with at least 64 GB of storage and adequate sustained write speed.
Back up the drive before formatting; the process erases its contents.
Use the in-car formatter when available, or format a single partition on a computer.
Check that the drive contains a top-level folder named TeslaCam.
Save a test clip and confirm that recording works before relying on the setup.
Check the USB drive requirements before formatting
A USB drive that looks suitable on a desk may not be a good fit for continuous recording. Check its storage, write performance, connector, and the ports available in your vehicle before erasing anything. If you searched for “Tesla USB drive format dashcam,” these checks are the useful place to begin.
Use a drive with at least 64 GB of storage
A minimum of 64 GB gives the drive room to hold recordings, though the amount of usable space depends on formatting and saved files. Video can use storage quickly, especially if you keep clips rather than letting older footage cycle out. Accessories for Tesla organizes products by model and category; its guide to Tesla Model Y storage choices offers a related overview of storage options, but check compatibility for your own vehicle.
Choose USB 3.0 or a drive with a sustained write speed of at least 4 MB/s
A high peak speed on the packaging is not the whole story: the drive needs to keep writing reliably over time. Look for a stated sustained write speed of at least 4 MB/s, or choose a USB 3.0 drive that also meets the vehicle’s compatibility requirements. The key distinction is steady write performance, not a brief burst shown in a product listing.
Confirm the drive works with your Tesla’s USB port and model year
Port type and data support vary by vehicle and model year. A port that supplies power for a phone may not transfer data for recordings, so consult the owner’s manual or the vehicle’s current on-screen guidance before choosing where to plug in. Check the connector, too; a compatible adapter does not make a power-only port suitable for data.
Back up files because formatting erases the drive
Formatting removes the existing contents, including documents and saved video. Copy anything you want to keep to another device before you begin, then double-check that the backup opens. This simple pause can save a lot of frustration if you selected the wrong drive or forgot an important file.
Choose a file system and formatting method
The right format depends on what the vehicle supports and whether you want the car or a computer to prepare the drive. For most owners, using the car’s formatter is the least fiddly route when that option is available. A computer can be useful when you need to set up a particular file system or partition yourself.
Use exFAT for broad compatibility and large video files
For a straightforward setup, exFAT is a common choice because it supports large video files and is recognized by many modern systems. The car’s format option can prepare a compatible drive and create the needed folder automatically. The Tesla Dashcam USB drive guide also discusses choosing a drive and managing saved footage; always verify current, model-specific requirements before formatting.
File system | When it may be useful | What to check |
|---|---|---|
exFAT | A common choice for large video files | Confirm support for your vehicle and computer |
FAT32 | An option on some setups | Individual files have a 4 GB size limit |
ext3 or ext4 | A Linux-format option where supported | Check your vehicle’s current guidance |
NTFS | Avoid assuming it will work | Verify support before using it |
These formats are not interchangeable in every vehicle or operating system. If you are unsure, use the in-car format option when it is available, or follow the instructions for your exact model rather than relying on a drive’s factory settings.
Consider FAT32 or a supported Linux file system when appropriate
FAT32 may be useful where it is supported, but its file-size limit can make it less convenient for large recordings. Some vehicle guidance may also list Linux file systems such as ext3 or ext4; that does not mean every model or computer can prepare or read them in the same way. Choose an alternative only after checking the manual for your vehicle and the tools you plan to use.
Format in the car for the simplest setup
When the option is available, formatting in the vehicle avoids having to create the required folder yourself. The car can format the drive as exFAT and add a TeslaCam folder. It is still worth backing up first, since formatting erases existing data, and checking that the drive is inserted into a data-capable port.
Use a computer when you need more control over partitions or file systems
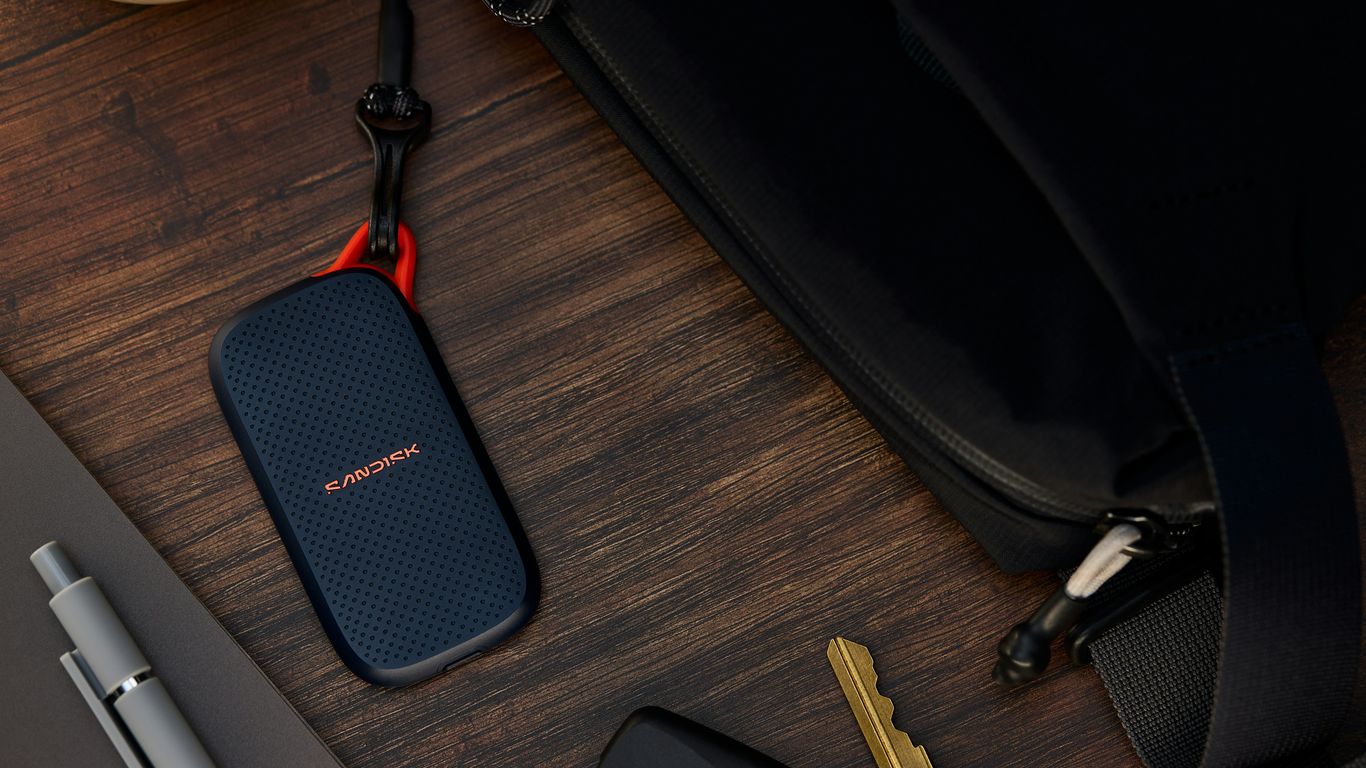
A computer gives you more control over the partition layout and lets you choose a format directly. Accessories for Tesla lists the Samsung T7 Portable SSD as a storage option; a particular drive’s listing does not replace checking its format and compatibility with your vehicle. For broader background on formatting and setup methods, see this USB formatting walkthrough.
The file system should be chosen for the device that will use the drive, not inferred from unrelated technology guides. Separate topics such as Zoho Mail, Kübelduschen und Schwallbrausen, a RightView SEO diagnostic, WordPress tutorial videos, and a US-to-Canada move guide have their own requirements and do not determine USB compatibility.
Format the drive in your Tesla
The in-car method is usually the most direct when your vehicle offers the formatting control. It prepares the drive for Dashcam use and can create the required folder, so you avoid a manual setup step. Menu names and port locations can differ; if you do not see the option, check the instructions for your model and software version.
Insert the drive into a USB port that supports data
Use a port that supports data transfer, not merely charging. The suitable location can depend on the vehicle’s year and configuration, so check the owner’s manual if you are uncertain. Insert the drive securely, then give the car a moment to detect it before looking for formatting controls.
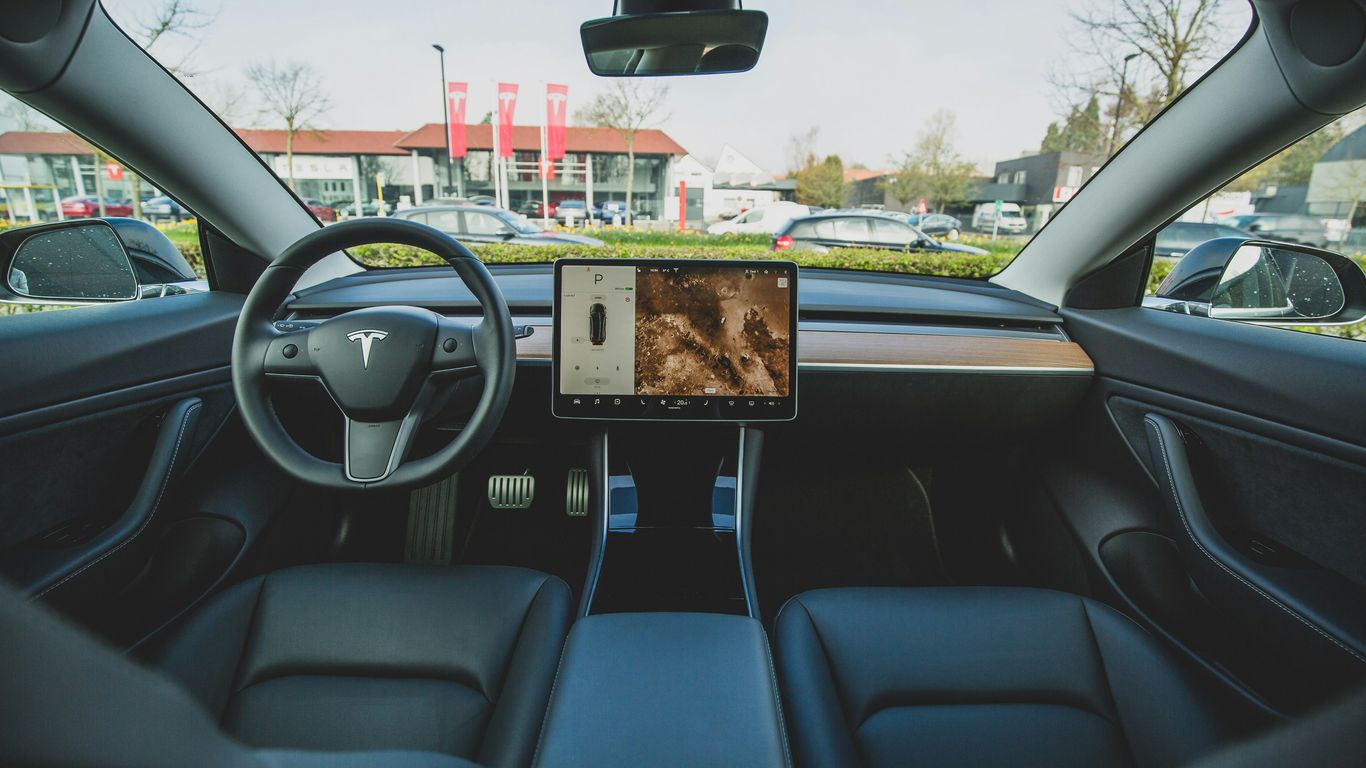
Open Controls, then Safety, and select Format USB Drive
On supported vehicles, the format control is found by opening Controls, then Safety, and selecting Format USB Drive. If the wording or location differs on your screen, use the current vehicle manual rather than guessing through menus. Don’t format a different connected drive by mistake; identify the intended drive first.
Confirm the erase prompt and let the car format the drive
Read the on-screen prompt carefully before confirming. The process erases the drive, so proceed only after backing up anything you need. Let the format finish before unplugging the drive; interrupting the process can leave it unprepared for recording.
Check that the TeslaCam folder is created
After formatting, check the drive’s contents if the vehicle provides a way to view them, or connect it to a computer and inspect the top level. The folder should be named exactly TeslaCam, with no extra folder level between it and the drive. A video tutorial can help make the sequence easier to follow visually.
Format the drive on a Windows PC or Mac
Formatting on a computer is a good alternative when the vehicle does not offer an in-car format option or you need to choose the file system yourself. The labels differ between Windows and macOS, but the careful parts are the same: select the correct drive, create a suitable partition, and add the required folder. Take your time at the erase step.
Select the USB drive carefully before erasing it
Before opening a format tool, disconnect other removable drives if practical. Confirm the drive by its name and capacity, not just its position in a list. Formatting the wrong disk can erase files you meant to keep, so stop and verify if anything looks unfamiliar.
Create one partition and format it as exFAT
For a simple Dashcam drive, create one partition and choose exFAT if it is supported by your vehicle. In Windows, use the disk or format utility and confirm the target drive before applying changes; on a Mac, use Disk Utility and make the same careful selection. The exact labels can vary by operating-system version, so check the current system instructions if the options look different.
Create a folder named TeslaCam at the drive’s top level
If the computer did not create the folder for you, open the drive and add a folder named TeslaCam. It should sit directly at the top level, not inside another folder, and the spelling matters. A correctly formatted drive with the folder in the wrong place may still fail to record as expected.
Eject the drive safely before connecting it to the car
Use the operating system’s eject or safely remove command before unplugging the drive. This gives the computer a chance to finish writing any pending changes. Then connect it to a data-capable vehicle port and check whether the car recognizes it.
Enable Dashcam and verify that recording works
Formatting is only part of setup; confirm that recording is enabled and that a test clip is actually saved. Dashcam and Sentry Mode settings may be separate, and their availability depends on the vehicle. A short check now is more useful than discovering a problem after you expected footage to be there.
Turn on Dashcam and Sentry Mode as needed
Enable Dashcam for driving recordings, and turn on Sentry Mode when you want the vehicle’s parked monitoring feature, if supported and appropriate for your situation. Review the on-screen settings to see which options are active. If you use Sentry Mode, check the vehicle’s own guidance about its operation and any conditions that may affect it.
Look for the Dashcam icon or recording indicator
After connecting the drive and enabling the feature, look for the Dashcam icon or other recording indicator shown on your screen. Its appearance and location can vary across software versions. If you do not see an indicator, check the drive connection and settings before assuming that recording has started.
Save a test clip and check that it appears on the drive
Make a brief test, save the clip using the vehicle’s controls, and then check for it in the car’s viewer or on the drive. This confirms more than simply seeing the USB connected: it checks that the setup can save a recording. Accessories for Tesla publishes practical owner guides and setup videos; use those alongside your vehicle’s manual if you need help locating a control.
Understand how Dashcam and Sentry Mode footage is stored
Footage may be recorded in cycles, with unsaved material overwritten as the drive is reused. Save important clips promptly and move them to another device when you want to keep them. For a closer look at storage and saved footage, a Dashcam and Sentry Mode overview can provide additional context; still verify settings and behavior for your vehicle.
Troubleshoot formatting and recording problems
When a drive is not recognized or recordings are missing, start with the simplest checks before replacing equipment. Confirm the port, connection, format, folder placement, and free space one by one. If the vehicle’s menus differ from the steps here, rely on model-specific guidance rather than assuming a feature is missing.
Try another data-capable USB port, cable, or adapter
A loose connection or a port that only provides power can prevent recording. Test another port known to support data, and check any cable or adapter in the chain. USB-C to USB-A adapters are listed for accessories and everyday connectivity, but verify that the adapter and the connected port support the data use you need. A JOWUA waterproof LED hub, by contrast, is specified as power only with no data transfer, so it is not a recording connection.
Reformat the drive if the car does not recognize it
If the vehicle still does not detect the drive after you check its connection and port, back up any files you want to keep and format it again using a supported method. Confirm the selected file system and make sure the format process completes before reconnecting it. Reformatting should be a considered step, not the first move if the drive contains saved footage you have not copied elsewhere.
Check available space, drive speed, and folder placement
A drive can appear connected but fail to save new video if it is full, too slow, or organized incorrectly. Use this short check to narrow down the cause:
Confirm there is free space for new recordings.
Check that the drive meets the sustained write-speed requirement.
Make sure TeslaCam is at the drive’s top level.
Recheck the selected file system and the USB connection.
If the drive is full, move saved clips elsewhere before deleting them. If the folder is misplaced, correct its location and test recording again rather than assuming the drive itself is defective.
Review model-specific guidance if the format option or recordings are missing
Menu options and supported ports can change between vehicle configurations and software versions. Look up the instructions for your exact model year if Format USB Drive is absent or the recording indicator does not appear. Accessories for Tesla’s guidance is organized around Tesla models and accessories, but the vehicle manual remains the best reference for model-specific controls.
Conclusion
A good setup comes down to a compatible drive, a supported format, a correctly placed TeslaCam folder, and a test recording you can verify. Back up files before formatting and save any clips you want to keep. When you are also considering practical upgrades for your vehicle, browse Tesla accessories and confirm fit for your exact model and year.
Frequently Asked Questions
How much storage should a dashcam USB drive have?
A drive with at least 64 GB is a useful starting point. Choose more capacity if you expect to keep saved clips, and move important footage elsewhere so the drive does not fill up.
Which file system should I use?
ExFAT is a common choice for large video files, but compatibility depends on the vehicle and its software. Check the relevant manual or use the vehicle’s format option when it is available.
Does formatting erase everything on a USB drive?
Yes. Formatting removes existing files, so copy anything you want to keep to another location before you start.
Why is the USB drive not recognized?
Possible causes include an unsupported format, a port that does not transfer data, a loose connection, or a drive problem. Check those basics and consult model-specific instructions if the issue continues.
Where should the TeslaCam folder be placed?
It should be at the top level of the USB drive, not nested inside another folder. The folder name should be spelled exactly TeslaCam.
How can I tell whether recording works?
Look for the recording indicator, save a short test clip, and confirm that it appears in the vehicle’s viewer or on the drive. Do not rely only on the drive appearing as connected.
What happens when the drive runs out of space?
New footage may no longer be saved when there is no room available. Move clips you want to keep to another device and free space on the drive before relying on it again.

Comments