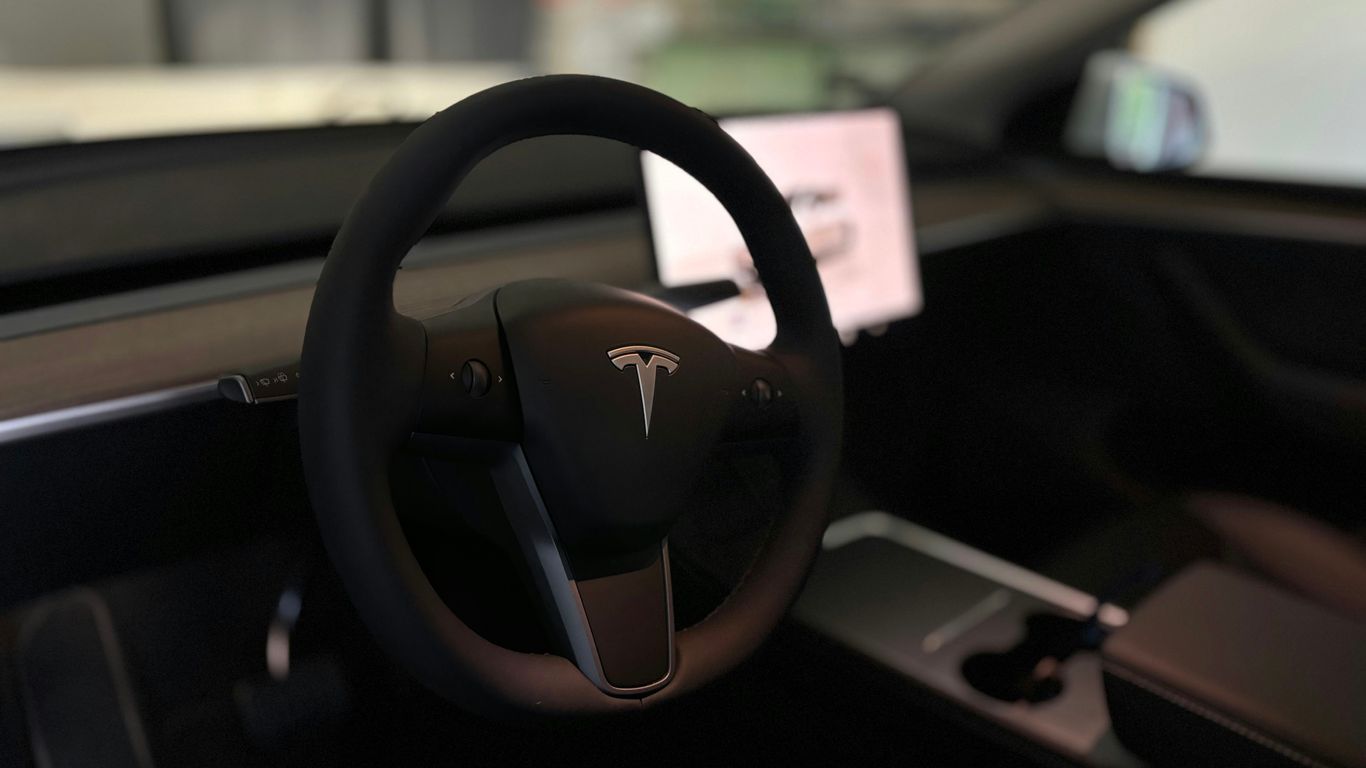
Essential Guide to Setting Up Tesla Charging at Home
- Sep 12, 2025
- 4 min read
As electric vehicles (EVs) continue to gain popularity, many Tesla owners are looking for convenient ways to charge their vehicles at home. Setting up a home charging station not only provides the convenience of charging overnight but also ensures that your Tesla is always ready for your next adventure. In this guide, we will explore everything you need to know about Tesla charging at home, from the types of chargers available to installation tips and best practices.
Understanding Tesla Charging Options
When it comes to charging your Tesla at home, there are primarily two options: Level 1 charging and Level 2 charging. Understanding the differences between these two options is crucial for making an informed decision.
Level 1 Charging
Level 1 charging utilizes a standard 120-volt outlet, which is commonly found in most homes. This method is the simplest and requires no special installation. However, it is also the slowest charging option available.
Charging Speed: Level 1 charging typically adds about 3 to 5 miles of range per hour. This means that if you have a long commute or frequently drive long distances, Level 1 charging may not be sufficient for your needs.
Ideal Use: Level 1 charging is best suited for those who drive short distances daily and have the luxury of charging overnight.
Level 2 Charging
Level 2 charging, on the other hand, requires a dedicated 240-volt outlet, similar to what is used for large appliances like dryers. This option is more efficient and significantly faster than Level 1 charging.
Charging Speed: With Level 2 charging, you can expect to add approximately 25 to 30 miles of range per hour. This makes it a more practical choice for most Tesla owners.
Installation: Installing a Level 2 charger typically requires the assistance of a licensed electrician, as it involves setting up a dedicated circuit.

Choosing the Right Charger
When selecting a charger for your Tesla, you have a few options to consider. Tesla offers its own charging solution, the Tesla Wall Connector, which is designed specifically for Tesla vehicles. However, there are also third-party options available.
Tesla Wall Connector
The Tesla Wall Connector is a popular choice among Tesla owners due to its compatibility and efficiency.
Features: It offers adjustable amperage settings, allowing you to customize the charging speed based on your home’s electrical capacity.
Installation: The Wall Connector can be hardwired or plugged into a NEMA outlet, providing flexibility in installation.
Third-Party Chargers
While the Tesla Wall Connector is a great option, there are several third-party chargers that are compatible with Tesla vehicles.
Compatibility: Ensure that any third-party charger you consider is compatible with Tesla’s charging standards.
Cost: Third-party chargers can vary in price, so it’s worth comparing features and reviews before making a decision.
Installation Process
Once you’ve chosen the right charger for your Tesla, the next step is installation. Here’s a step-by-step guide to help you through the process.
Step 1: Assess Your Electrical System
Before installation, it’s essential to assess your home’s electrical system.
Capacity: Determine if your electrical panel can handle the additional load of a Level 2 charger.
Location: Choose a location for the charger that is easily accessible and close to where you park your Tesla.
Step 2: Hire a Licensed Electrician
For Level 2 charging installations, it’s highly recommended to hire a licensed electrician.
Safety: An electrician will ensure that the installation meets local codes and safety standards.
Expertise: They can also help you determine the best amperage settings for your specific needs.
Step 3: Install the Charger
Once you have hired an electrician, they will handle the installation process.
Wiring: The electrician will run the necessary wiring from your electrical panel to the charger location.
Mounting: The charger will be securely mounted, and any necessary permits will be obtained.

Charging Best Practices
To maximize the efficiency and lifespan of your Tesla’s battery, it’s important to follow some best practices when charging at home.
Regular Charging
Daily Routine: Make it a habit to charge your Tesla regularly, even if you don’t need a full charge. This helps maintain battery health.
Avoid Depletion: Try to avoid letting your battery level drop too low before charging. Keeping your battery between 20% and 80% is ideal for longevity.
Monitor Charging
Use the App: Tesla’s mobile app allows you to monitor your charging status and adjust settings remotely.
Scheduled Charging: If your utility company offers lower rates during off-peak hours, consider scheduling your charging during those times to save on electricity costs.
Keep the Charger Clean
Maintenance: Regularly check the charger and cable for any signs of wear or damage.
Cleaning: Keep the charging area clean and free of debris to ensure safe and efficient charging.
Understanding Charging Costs
Charging your Tesla at home will incur costs, but it can be significantly cheaper than fueling a gasoline vehicle.
Electricity Rates
Local Rates: Check your local electricity rates to estimate how much it will cost to charge your Tesla.
Time-of-Use Plans: Some utility companies offer time-of-use plans that can help you save money by charging during off-peak hours.
Cost Comparison
Gasoline vs. Electric: Compare the cost of charging your Tesla to the cost of gasoline for a similar vehicle. Most Tesla owners find that charging at home is much more economical.
Conclusion
Setting up Tesla charging at home is a practical and convenient solution for Tesla owners. By understanding the different charging options, selecting the right charger, and following best practices, you can ensure that your Tesla is always ready to hit the road. With the right setup, you’ll enjoy the benefits of electric driving while contributing to a more sustainable future.
Whether you choose Level 1 or Level 2 charging, the key is to find a solution that fits your lifestyle and driving habits. Happy charging!


Comments