Easy Steps for a Perfect Tesla Screen Protector Install
- Sep 4, 2025
- 12 min read
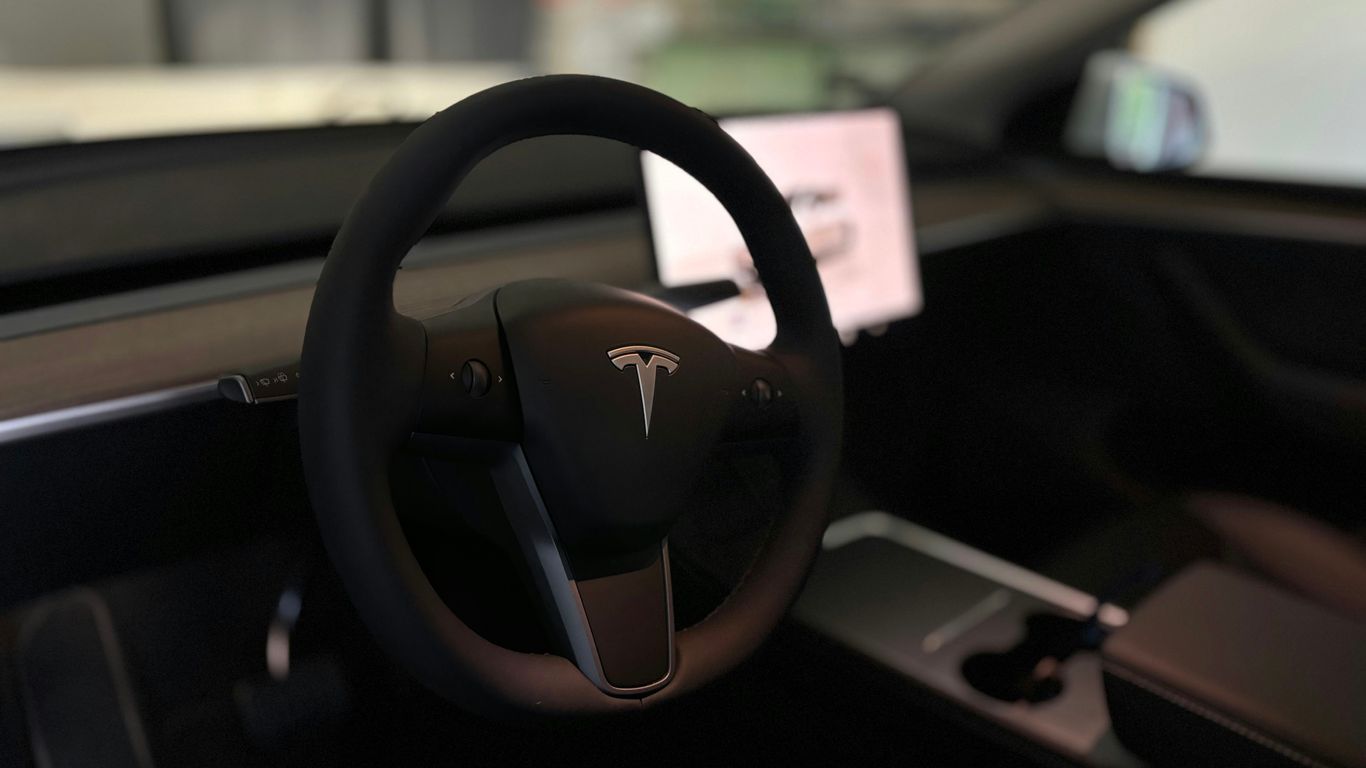
So, you just got your Tesla and want to keep that big touchscreen looking sharp. Applying a screen protector might seem a little tricky, especially with all the dust in your car. But honestly, it's not that bad if you take your time. We'll walk through how to get a clean, bubble-free tesla screen protector install so your display stays protected and responsive.
Key Takeaways
Prepare your Tesla's cabin by cleaning the screen thoroughly to avoid trapping dust under the protector.
Choose a protector that fits your Tesla model and offers features like oleophobic coatings for a better experience.
Use tape to create a hinge for precise alignment during the tesla screen protector install.
Gently squeegee out any air bubbles towards the edges for a smooth finish.
Test touch responsiveness after installation and avoid harsh cleaners to maintain the protector's coating.
Prep Your Cabin For A Clean Tesla Screen Protector Install
Getting the prep right is the difference between a crisp display and a speck staring at you every drive. Dust control makes or breaks the install.
Switch off HVAC, close all doors, and let the cabin sit for a minute so floating dust can settle.
Factor | Target |
|---|---|
Cabin temperature | 60–80°F |
Humidity (if you can control it) | Under 50% |
Lighting | Bright, indirect light |
Work surface | Clean, lint-free cloth nearby |
Enable Screen Cleaning Mode And Clear The Display
Park safely, close windows, and put the car in Park.
Open the car’s settings and turn on Screen Cleaning Mode so the panel won’t register random touches.
Wipe the display with a dry, clean microfiber to lift loose dust.
Lightly dampen a corner of the cloth with 70% isopropyl alcohol (don’t spray the screen directly) and wipe top to bottom. Use a dry section to finish.
Give it about a minute to air-dry before moving on.
Remove Dust With Microfiber And Dust Stickers
Use a fresh microfiber cloth; fold it and glide in straight lines. No circles—that just moves lint around.
For stubborn specks, “dab” with a dust-removal sticker. Touch down and lift; don’t drag.
Inspect from different angles with a phone flashlight. If you see any haze, re-wipe lightly and let it flash dry.
If you used alcohol, follow practical isopropyl alcohol prep so the panel is clean and fully dry before alignment.
Align The Protector Without Touching The Adhesive
Leave the liner on. Hold the protector by the edges and hover it over the display to check fit.
Use two short pieces of painter’s tape on one long side to create simple guide tabs. Open and close it like a book to confirm repeatable alignment.
Note your reference points: top corners, camera notch (if present), and the bottom edge line.
When you’re confident, keep the adhesive covered and practice the hinge motion once more. Set it aside face-up on a clean cloth while you clear any last specks.
If anything lands on the screen at this stage, stop and clean again. Rushing here only means redoing it later.
Choose The Right Film For A Seamless Tesla Screen Protector Install
Picking film isn’t just about price. Think about glare in your commute, fingerprints from daily use, and how you want the screen to feel under your fingers. A few minutes choosing now saves a frustrating install later.
Tempered Glass Versus Matte PET Advantages
Tempered glass and matte PET both work well, but they behave differently on the Tesla display. Here’s a quick side‑by‑side:
Feature | Tempered Glass | Matte PET |
|---|---|---|
Thickness | ~0.30–0.40 mm | ~0.10–0.20 mm |
Scratch resistance | 8–9H | 3–4H |
Glare reduction | Low | Medium–High |
Clarity/sharpness | Very high | Slight softening |
Fingerprint masking | Moderate | Good |
Tactile feel | Smooth, glassy | Silky, paper‑like |
Impact behavior | Can crack; stays in one piece | Won’t shatter; can dent |
Install forgiveness | Rigid; easy to align | Flexible; bubbles push out easier |
Price | $$ | $ |
Choose tempered glass if you want a true “glass” feel, top clarity, and strong scratch resistance.
Choose matte PET if midday glare bothers you, you hate smudges, or you prefer a softer, pen‑paper feel.
Night drivers or folks with tinted windows often prefer glass; bright‑sun commuters lean matte.
Pick the film that matches how and when you drive, not just the highest rating on the box.
Model-Specific Cutouts And Edge Coverage
Tesla screen sizes and bezels shifted over the years, and some trims include tiny sensor zones around the panel. Fit matters more than you think.
Match your exact model and year (e.g., 2021+ Model S/X vs earlier generations; 3/Y refresh years differ slightly). Product pages should call this out.
Look for tight corner radiuses that mimic the display and a hairline gap (about 0.5–1 mm) from the bezel to reduce edge lift during heat cycles.
Prefer 2.5D or polished edges on glass; they feel nicer and catch less dust.
If your screen has a swivel mount or aftermarket frame, confirm clearance so the protector doesn’t rub when you pivot the display.
Full‑coverage glass looks clean; “case‑friendly” styles leave a slim border that can reduce lifting when the cabin gets hot.
Oleophobic Coatings And Anti-Glare Options
An oleophobic layer helps oils bead up and wipe away faster. These coatings wear down with use, so pay attention to what the maker promises.
Look for a contact angle spec near 105° or higher and a durability claim (e.g., lab rub cycles); it’s a decent proxy for how long smudge resistance lasts.
Anti‑glare films list a haze value. Around 3–5% cuts reflections without making maps look fuzzy; 6–8% tames harsh light but softens text more.
Matte PET reduces mirror‑like reflections and hides prints; glass with anti‑glare etch exists, but clarity trade‑offs vary by brand.
You may need 5–10% more screen brightness with stronger anti‑glare coatings.
Avoid ammonia or strong solvents; they strip coatings faster than normal. A light spritz of screen‑safe cleaner and a microfiber cloth is enough.
If sunlight hits your display most afternoons, a matte PET sheet with ~3–5% haze is a sweet spot: fewer reflections, maps still crisp, and smudges less obvious.
Master Dry-Hinge Alignment For A Bubble-Free Tesla Screen Protector Install
The dry-hinge method gives you control, even if your hands aren’t surgeon-steady. You’re setting a fixed pivot with tape, testing the fit, then sticking the protector down a little at a time.
Measure twice, peel once, and bubbles rarely show up.
Create Guide Tabs With Painter's Tape
Use low-tack blue painter’s tape. It grabs well but won’t leave gunk on the bezel.
Position the protector on the powered-off screen and center the gaps around the bezel. Don’t remove the liner yet.
Make a long “hinge” strip along one straight edge (top or one side). Half on the glass bezel, half on the protector.
Add two short “holding” tabs on the opposite edge to keep it aligned while you flip it open and closed.
Test the motion: open the protector like a book along the taped edge, then close it back down. It should land in the same spot every time.
Mark tiny alignment dots on the tape (not the display) so you can spot drift quickly.
Press the tape down firmly with a clean card so the hinge doesn’t creep.
If your tape squeaks or lifts easily, swap it. Old tape stretches and throws off alignment fast.
Test Fit From The USB Side Or Top Edge
Pick the edge that’s dead straight in your car and simplest to sight-line. For many folks, that’s the top edge; others prefer the side nearest the console or USB area.
Use the longest straight edge as your reference so corner radiuses line up naturally.
Check bezel gaps at four corners, then midpoints. Move in tiny nudges, not big shifts.
Shine light across the glass at a shallow angle to catch dust or tilt before sticking anything.
A small suction cup mirror can help you spot specks along the edge without leaning over the wheel like a pretzel.
Peel The Liner In Stages To Lock Alignment
Rushing the liner is where bubbles are born. Slow and steady wins here.
Flip the protector open on the hinge and peel back 1–2 inches of the liner from the reference edge.
Close the protector and “tack” that exposed strip with a microfiber-wrapped card, center to edge.
While holding light pressure at the tack, pull the liner another few inches and squeegee in overlapping strokes, center outward.
If you trap a bubble, lift just back to that spot using the hinge, pick the dust with a sticker, and lay it down again.
Keep unrolling the liner in small sections until you reach the far edge. Don’t yank the whole thing at once.
Do a final pass with firm, even strokes to push micro air to the sides. Tiny haze spots often clear after a day.
If a section shifts off-center, stop, lift to the last clean tack point, realign on your tape marks, and continue. Pulling farther risks bending the protector or dragging dust in.
Eliminate Bubbles During Your Tesla Screen Protector Install
Bubbles sneak in even when you clean like a pro. The trick is patience and method—don’t rush the first passes and always give air a path to escape. Pressure and direction matter more than speed.
Bubble type | What it looks like | Quick fix |
|---|---|---|
Air pocket | Soft dome that shifts when pushed | Squeegee outward in small, overlapping strokes |
Dust nib | Tiny sharp bump that won’t move | Lift corner, remove speck with dust sticker, reapply |
Edge silvering | Faint line near edges | Warm glass with hands, re-press slowly to the rim |
Use A Squeegee With Firm, Even Pressure
Wrap a plastic card or use a soft squeegee to avoid micro-scratches; hold it at a 30–45° angle.
Start from your anchored edge and make short, overlapping strokes—center toward the sides.
Keep medium, steady pressure; if you hear squeaks or feel chatter, lighten up and slow down.
Support the glass with your free hand so it doesn’t flex as you push air.
For faint “silver” edges, warm the display slightly with your hands and do two slow finishing passes.
Work Air Pockets Toward The Nearest Edge
Pick the closest escape route; don’t chase a bubble across the entire panel.
Split long tunnel bubbles into segments. Press the middle first, then push each half outward.
If a pocket keeps returning near a corner, lift that corner 2–3 mm, feed the air out, and lay it back down.
A quality tempered glass protector can make this easier by holding flat and resisting flex; look for a well-cut, rigid option like a tempered glass protector.
Tiny microbubbles often fade within 24–48 hours as the adhesive relaxes.
Lift And Reapply Small Sections If Needed
Don’t rip the whole thing off. Lift only the nearest corner or edge just enough to get under the bubble.
Use a dust sticker under the lifted area to snag a speck, then drop the glass and squeegee from the lift point outward.
If the film drifted, realign using your hinge tape, then re-lay the liner gradually to lock it in.
Persistent ridge line? Lift an inch past it, float the glass back down slowly, and chase air in tiny strokes.
If you’re fighting the same bubble twice, stop and reassess—there’s usually a dust speck or trapped air path you missed the first time.
Protect Touch Sensitivity After A Tesla Screen Protector Install
Tiny changes after a fresh install can make the screen feel a hair off—usually it’s just adhesive curing or a bubble you missed. If you used a matte Tesla protector, the screen may feel a bit different to the fingertip, but taps should still register instantly. Don’t settle for laggy touches—there’s almost always a quick fix.
Give the car a calm environment for a day. Normal cabin temps and a dust-free dash help the adhesive finish bonding and can smooth out small bubbles.
Verify Swipe Responsiveness Across The UI
Exit Screen Cleaning Mode and set brightness to a comfortable level.
Drag your finger across all four edges, then zig-zag through the center; note any stutter or dead spots.
Try common gestures: quick flicks on the map, pinch-to-zoom, long-press on icons, and typing a short address.
If a spot feels off, check for a tiny bubble, dust nib, or slight misalignment there.
Mark problem areas with a small tape tab so you can revisit them with a squeegee.
Pro tip checks:
Make sure the protector sits flat at the corners; even a slight lift can add touch latency.
Wipe away residue with a dry microfiber before re-testing.
Reboot The System If Touch Feels Sluggish
If everything looks aligned but the screen still feels slow, try a quick reset.
Park safely.
Hold both steering wheel scroll buttons until the display goes black.
Wait for the “T” logo and test again.
Still off? Use Controls > Safety > Power Off, wait a couple minutes, then wake the car and retest.
Check for pending software updates; sometimes touch behavior tightens up after an update.
If lag remains in the same spots, lift that section a few millimeters, remove dust with a sticker, and squeegee back down from center to edge.
Avoid Harsh Cleaners That Degrade Coatings
The oleophobic or matte coating is what makes the screen glide cleanly. Strong chemicals can strip it and make taps feel sticky over time.
Do this:
Use a dry microfiber for daily wipes; add distilled water for smudges.
For heavier grime, a tiny drop of mild dish soap in water on the cloth (never spray the screen).
Wipe in straight lines and keep moisture away from edges.
Skip this:
No ammonia, glass cleaner, or pure alcohol on the screen.
No paper towels or abrasive cloths.
No soaking the edges; liquid can creep under the film.
If the coating wears or deep scratches show, swap the film. A quality tempered glass option keeps touch feel close to stock while resisting fingerprints and scuffs.
Keep Your Display Pristine After A Tesla Screen Protector Install
Protectors do most of the heavy lifting, but your habits decide how long they look new. Clean glass and stable temps keep touch smooth and the view clear.
Use Microfiber Cloths And Streak-Free Sprays
Turn on Screen Cleaning Mode so taps don’t trigger anything.
Start dry: wipe away loose dust with a clean, lint-free microfiber cloth so you’re not grinding grit into the coating.
For smudges, use a 70% isopropyl alcohol mix or a screen-safe, ammonia-free spray. Always spray the cloth, not the screen.
Wipe in straight lines, edge to edge, with light to medium pressure. Flip to a dry side and buff.
Wash cloths regularly (no fabric softener—it leaves residue). Keep a dedicated cloth in the glove box.
Quick rule: if you wouldn’t use it on high-end camera glass, don’t use it on your Tesla’s display.
Mind Heat Exposure And Direct Sunlight
Park smart: shade, a windshield sunshade, or garage space helps prevent haze and slow coating wear.
Enable Cabin Overheat Protection when possible; high cabin temps can soften adhesive and invite edge lift.
Let the cabin cool before cleaning. Hot glass flashes cleaner into streaks and can trap vapor under edges.
Avoid harsh solvents or dash dressings, especially in heat. Fumes can weaken the protector’s coating.
After a cold soak, don’t hit max defrost right on the screen. Warm the cabin gradually to avoid thermal shock.
Know When To Replace A Scratched Protector
Scratches you can feel with a fingernail, especially in swipe lanes.
“Oil slick” rainbows or smears that won’t go away after a proper clean (oleophobic layer is worn).
Persistent edge lift or dust creeping under the border.
Chips or cracks near corners—these spread with vibration.
Touch oddities (dead spots, ghost taps) that remain after a reboot and thorough clean.
Typical lifespan (guidelines, not gospel):
Usage pattern | Typical lifespan (months) |
|---|---|
Light commuting, careful cleaning | 12–24 |
Daily family use, frequent touches | 6–12 |
Rideshare/heavy use | 3–6 |
If you’re on the fence, replace during a cool, low-dust evening. It’s a quick swap that keeps the display looking new and stress-free to use.
Just installed a screen protector? Keep your Tesla display looking new with a soft microfiber cloth, no harsh sprays, and quick weekly wipes. For simple step-by-step care and the best cleaning kits, visit our website today.
All Done!
And there you have it! Installing a screen protector on your Tesla might seem a bit tricky at first, but with these steps, it’s really not that bad. You’ve protected your big touchscreen from all those fingerprints and potential scratches. It’s a small change that makes a big difference in keeping your car looking sharp. Now you can drive around knowing your screen is safe and sound, and you did it yourself. Pretty cool, right?
Frequently Asked Questions
What's the best way to start putting on my Tesla screen protector?
First, make sure your car's screen is super clean. Turn on the screen cleaning mode and wipe away any dust or smudges with the special cloths that come with the protector. It's like prepping a canvas for a masterpiece!
Should I get tempered glass or a different kind of screen protector?
Tempered glass is tough and feels like your original screen, offering great scratch protection. Other types, like matte ones, can help reduce glare and fingerprints. Think about what matters most to you – super clear or less shiny.
How do I make sure the protector goes on straight?
A neat trick is to use small pieces of tape to create a hinge. This lets you lift and align the protector perfectly before sticking it down. Try lining it up from the USB port side or the top edge to get it just right.
What if I get air bubbles under the protector?
Don't panic! Gently push the bubbles towards the edge of the screen using the squeegee tool. If a bubble is stubborn, you can carefully lift that small section of the protector and reapply it to push the air out.
Will a screen protector mess with the touch sensitivity?
Most good screen protectors won't change how the screen feels. After installing, give it a good test by swiping through different menus. If it feels a bit slow, sometimes a quick restart of the car's system can help.
How do I clean the screen protector after it's on?
Just use a soft microfiber cloth, maybe with a little bit of screen-safe cleaner. Avoid using harsh chemicals, as they can damage the protector's special coatings over time. Treat it gently to keep it looking great!


Comments